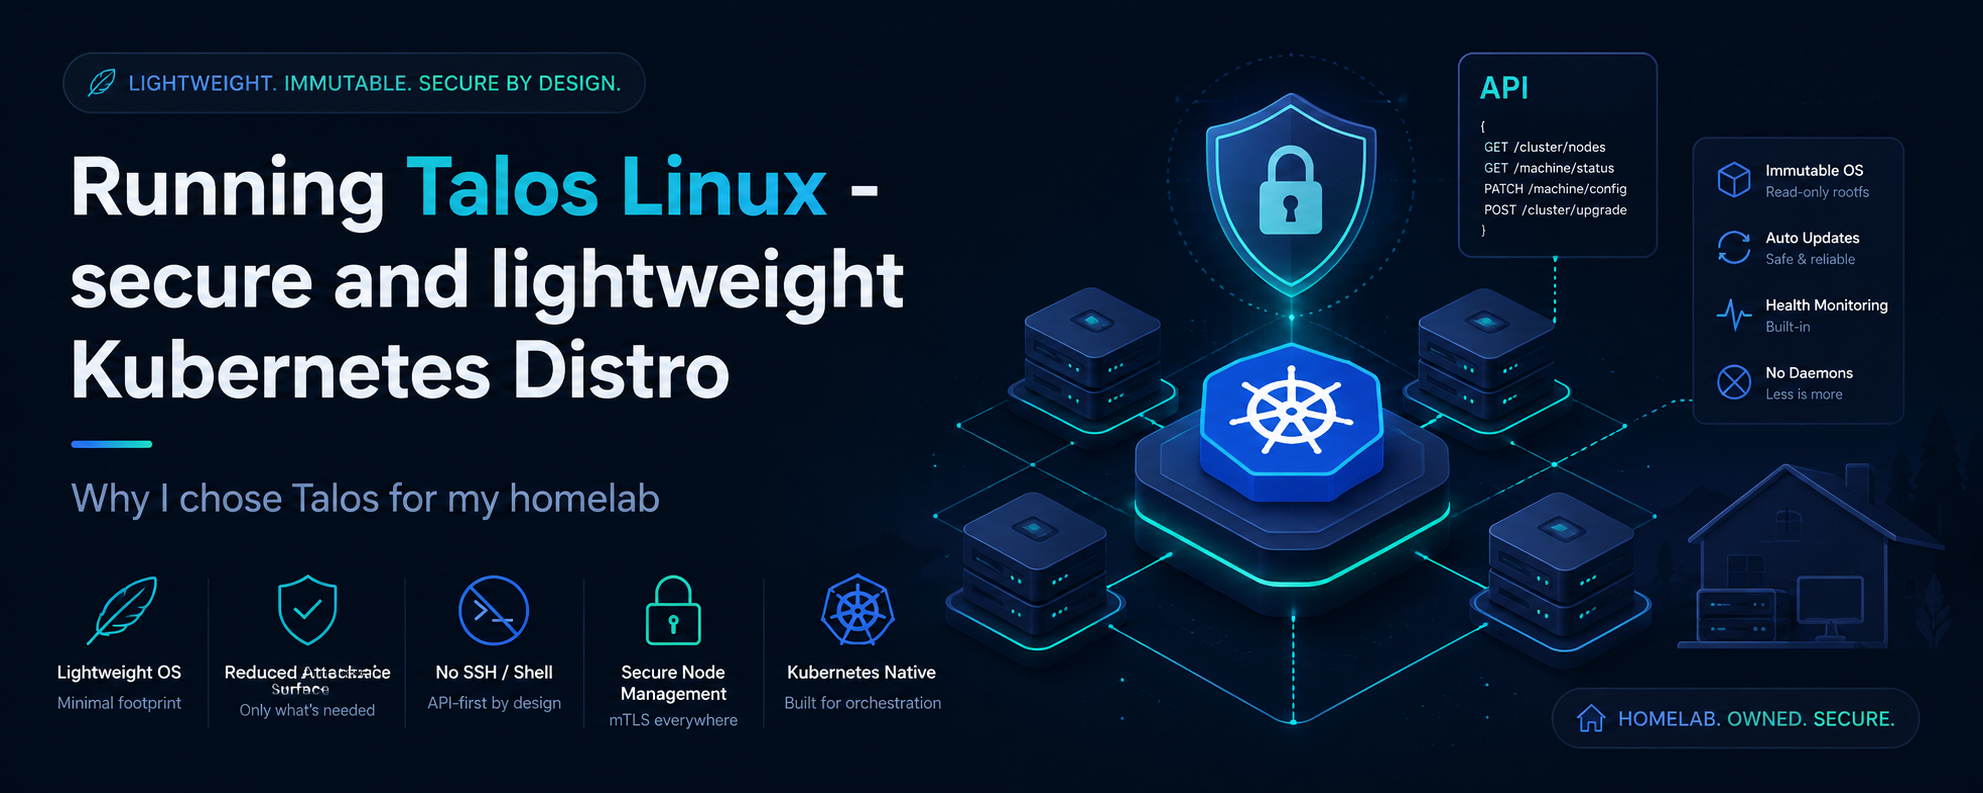
Why choose Talos over other minimalist Kubernetes distribution?
Talos Kubernetes has been one of the Kubernetes distribution that I wanted to work on for quite awhile, it has also become my go-to distro for my homelab, and I'd love to share why in this post.
1. Reduced software dependencies lessens the surface area for attacks.
Out of the box, Talos Linux comes pre-packaged with only the essential binaries required to run Kubernetes. This differs from distributions like K3s, where nodes typically run on top of a general-purpose Linux variant like Ubuntu or Debian. With Talos, there is significantly less "software bloat." The last thing you want is to be compromised by a package or service you didn't even need in the first place.
2. API managed and secure through immutability.
Talos promotes security through immutability by removing SSH and Shell access to the Kubernetes Worker node, which entirely eliminates attacks
caused by manual configuration drifts and credential based attacks. In vanilla and other popular distros, it's still common practice to access/debug
worker node issues via SSH access, go in and run some diagnostics like journalctl, which is fine for engineers that know what they are doing,
but for most, it's always certainly much better option to go with a distro that comes with reduced attack surface.
Configuration management is all done through talosctl which is a declaratively gRPC API.
The underlying operating system is read-only, meaning it eliminates the risks of persistent threats and also prevents unauthorised changes.
"But, is it worth the effort?"
This is the most common pain point I see raised in the community. It is a paradigm shift to move from imperative tools like Ansible for infrastructure operations (patching and upgrading) to a declarative, API-first approach. In Talos, everything happens via the gRPC API, you define the desired state, and Talos handles the underlying complexities.
Does it add operational complexity? To some extent, yes,I guess there's some overhead needed to learn about the API for configuration management but to me the security benefits far outweighs the cons. Especially where we are running core services in our homelabs.
Step 0 - Setting up the Talos Linux Terraform Provider
The choice of Bare-metal or a Hypervisor platform is completely up to you. I'm running 3-node Proxmox cluster in my Homelab.
terraform {
  required_version = ">= 1.3"
  required_providers {
    proxmox = {
      source  = "bpg/proxmox"
      version = "0.98.1"
    }
    talos = {
      source  = "siderolabs/talos"
      version = "0.10.1"
    }
  }
}
Step 1 - Pre-requisites for Kubernetes
Using the command line we can generate the manifest and talosconfig like so,
# This is the imperative way through CLI, just for example.
talosctl gen config \
    $CLUSTER_NAME https://$CONTROL_PLANE_IP:6443 \
    --install-disk /dev/$DISK_NAME
This command alone generates everything you need, and talosctl injects secrets/certs you need into the controlplane.yaml and the worker.yaml
Slight nuances when it comes to terraform, we generate it using the following resource.
# Generates cluster PKI and client config once Talos enrollment is enabled.
resource "talos_machine_secrets" "cluster" {
  count         = local.talos_enabled ? 1 : 0
  talos_version = var.talos_version
}
Step 2 - Provisioning the Controlplane and Worker configurations
In my personal Terraform script, I introduced my own variables but for the sake of demo, I've stripped off the variable names, feel free to design how you see fit. But the idea is showing and explaining the configurations you need.
For my configurations, I disabled Kube-proxy as I am using Cilium ePBF as my main Kubernetes CNI. Added node labels for topology awareness of the underlying Proxmox host that these Talos Nodes are sitting on.
data "talos_machine_configuration" "controlplane" {
  cluster_name     = "<Your-cluster-name>"
  cluster_endpoint = "https://<Your-controlplane-IP>:6443"
  machine_type     = "controlplane"

  machine_secrets = talos_machine_secrets.cluster.machine_secrets
  talos_version   = "v1.10.0"

  config_patches = [
    yamlencode({
      machine = {
        install = {
          disk       = "/dev/sda"
          bootloader = true
          wipe       = false
        }
      }
    })
  ]
}

data "talos_machine_configuration" "worker" {
  cluster_name     = "<Your-cluster-name>"
  cluster_endpoint = "https://<Your-worker-IP>:6443"
  machine_type     = "worker"

  machine_secrets = talos_machine_secrets.cluster.machine_secrets
  talos_version   = "v1.10.0"

  config_patches = [
    yamlencode({
      machine = {
        install = {
          disk = "/dev/sda"
        }
      }
    })
  ]
}
Step 3 - Applying the configurations
Sweet. Now for the fun part, we've generated the configurations and we can simply apply them like so: Notice how we are passing it the pre-generated secret for the client configurations.
# Apply Control plane config

resource "talos_machine_configuration_apply" "controlplane" {
  client_configuration        = talos_machine_secrets.cluster.client_configuration
  machine_configuration_input = data.talos_machine_configuration.controlplane.machine_configuration

  node = "<Your-Controlplane-IP>"
}
# Apply Worker config

resource "talos_machine_configuration_apply" "worker" {
  client_configuration        = talos_machine_secrets.cluster.client_configuration
  machine_configuration_input = data.talos_machine_configuration.worker.machine_configuration

  node = "<Your-Worker-IP>"
}
Step 4 - Bootstrapping etcd cluster on the Controlplane
Run this command only on 1 of the controlplane, this will start the etcd cluster.
resource "talos_machine_bootstrap" "controlplane" {
client_configuration = talos_machine_secrets.cluster[0].client_configuration
depends_on = [talos_machine_configuration_apply.controlplane]
node = "<Your-Controlplane-IP>"
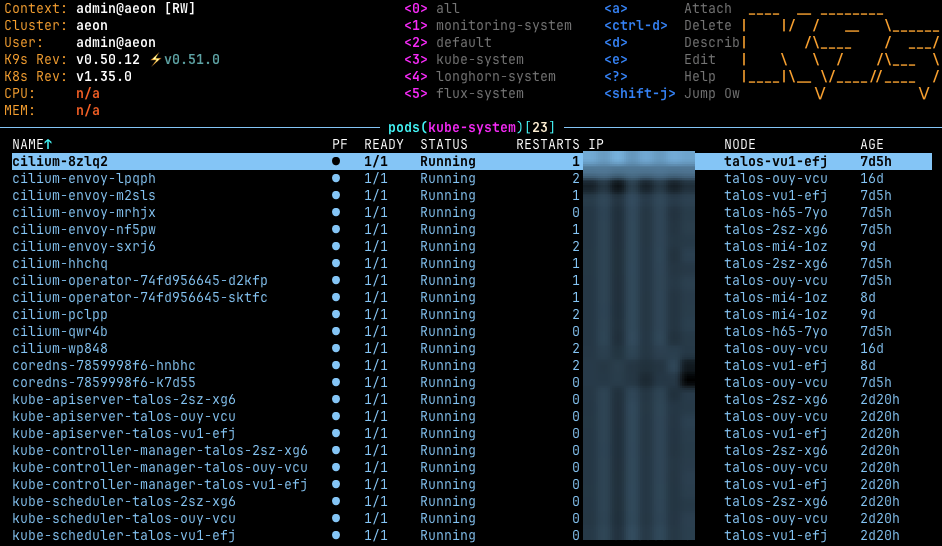
}Step 5 - Connecting to your Talos Kubernetes Cluster
Once you've confirmed that all the nodes are up, in our Terraform script we can easily extract the kubeconfig
Store this as you would in your .kube.
data "talos_cluster_kubeconfig" "cluster" {
  client_configuration = talos_machine_secrets.cluster[0].client_configuration
  depends_on           = [talos_machine_bootstrap.controlplane[0]]
  node                 = "<Your-Controlplane-IP>"
}

output "kubeconfig" {
  value     = try(data.talos_cluster_kubeconfig.cluster[0].kubeconfig_raw, null)
  sensitive = true
}
For access to the Talos Worker nodes, you need to extract the talosconfig and store it in ~/.talos/config
Try and access, using talosctl get members -n <Talos-Node-IP>
data "talos_client_configuration" "cluster" {
  cluster_name         = var.cluster_name
  client_configuration = talos_machine_secrets.cluster[0].client_configuration
  endpoints            = [local.controlplane_ip_no_prefix]

  #These are all members of your Talos Nodes
  nodes                = ["10.0.0.10", "10.0.0.11", "10.0.0.12"]
}

output "talosconfig" {
  value     = try(data.talos_client_configuration.cluster[0].talos_config, null)
  sensitive = true
}
References
[1] - https://docs.siderolabs.com/talos/v1.12/getting-started/getting-started
[2] - https://registry.terraform.io/providers/siderolabs/talos/latest